**1、Jupyter Notebook ****和 **pip
为了更加方便地写 Python 代码,还需要安装 Jupyter notebook。 利用 pip 安装 Jupyter notebook。 为什么要使用 Jupyter?参考: https://www.zhihu.com/question/37490497
pip: Python 的包管理工具,安装 Python 的同时已经安装好了。Jupyter notebook: 一个交互式笔记本,支持运行 40 多种编程语言。 利用她来写 Python,代码和运行结果都可以保存下载,十分方便。
**2、Jupyter notebook **安装
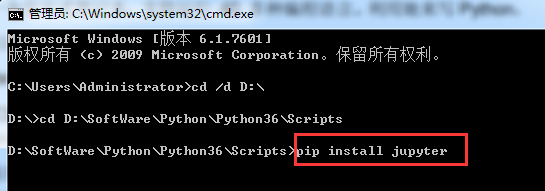
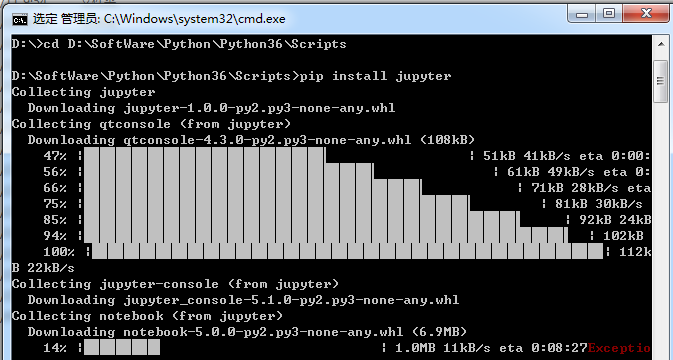
命令行窗口输入: pip install jupyter
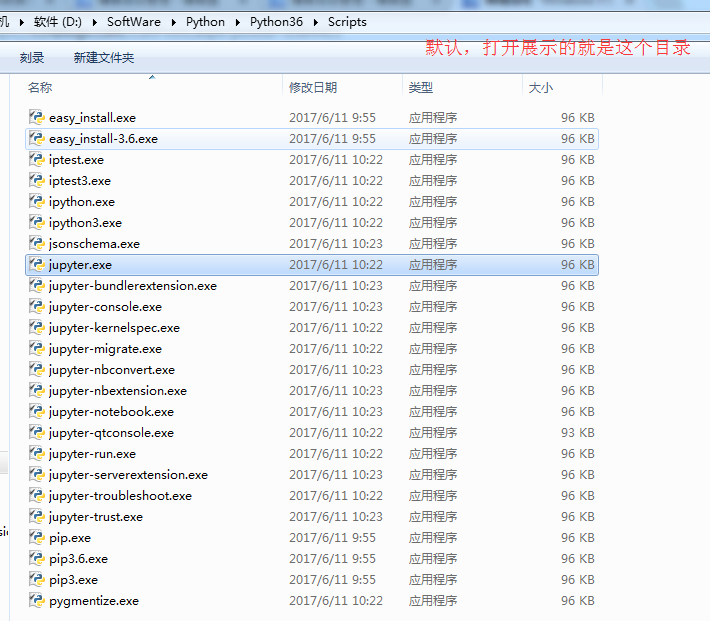
切换到 D:\SoftWare\Python\Python36\Scripts目录下,
当然,若大家是默认安装的话,则在C:\Users\Administrator\AppData\Local\Programs\Python\Python36\Scripts 目录下 。
或者将该目录添加到 path,就不用切换了。
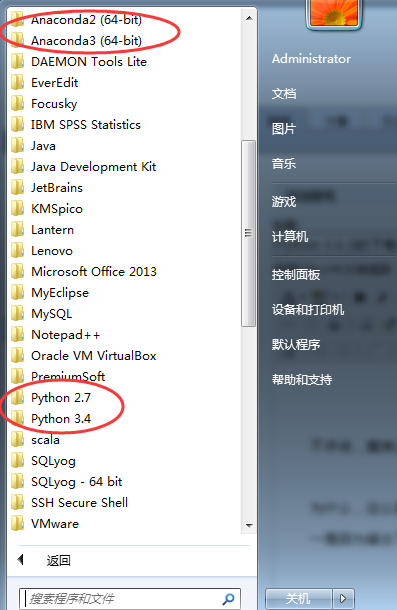
我这里,因为考虑到机器学习深度学习那边,已经安装了Anaconda2和Anaconda3,所以这边的数据分析所用的python3.6.1就不添加到path了。每次去切换到这个目录来,也不麻烦。

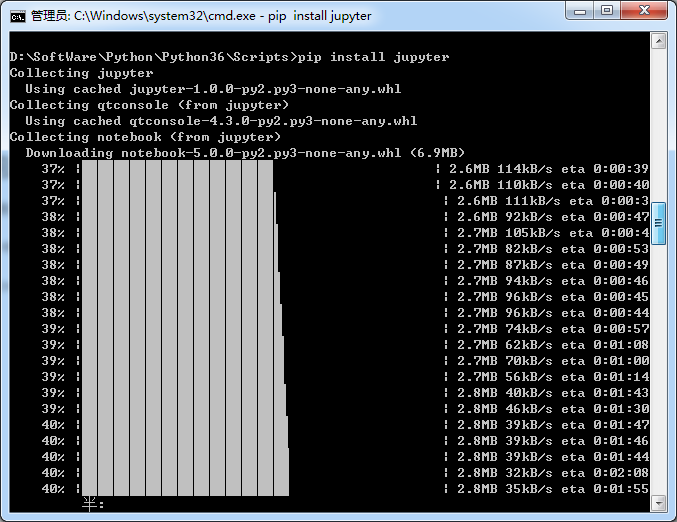


安装成功。
**3、 **jupyter notebook的启动
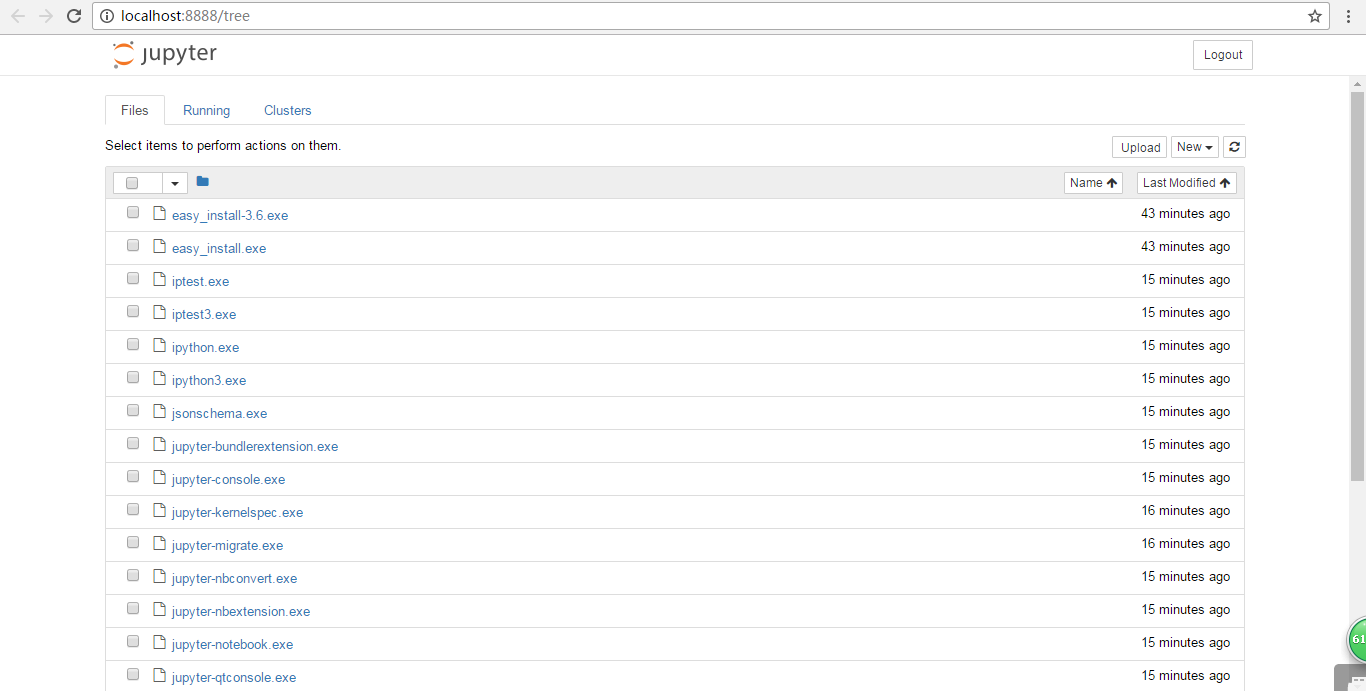
命令行窗口输入: jupyter notebook
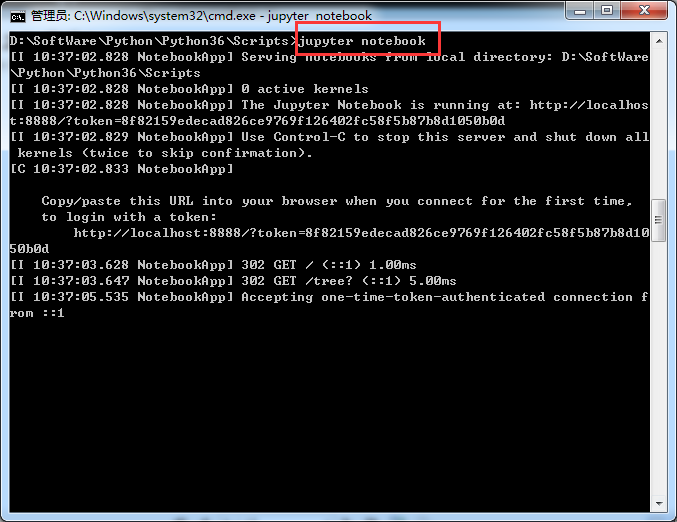
同时,默认浏览器会打开 Jupyter notebook 窗口。 说明 Jupyter notebook 安装成功了。
*4、***配置 ****Jupyter notebook **
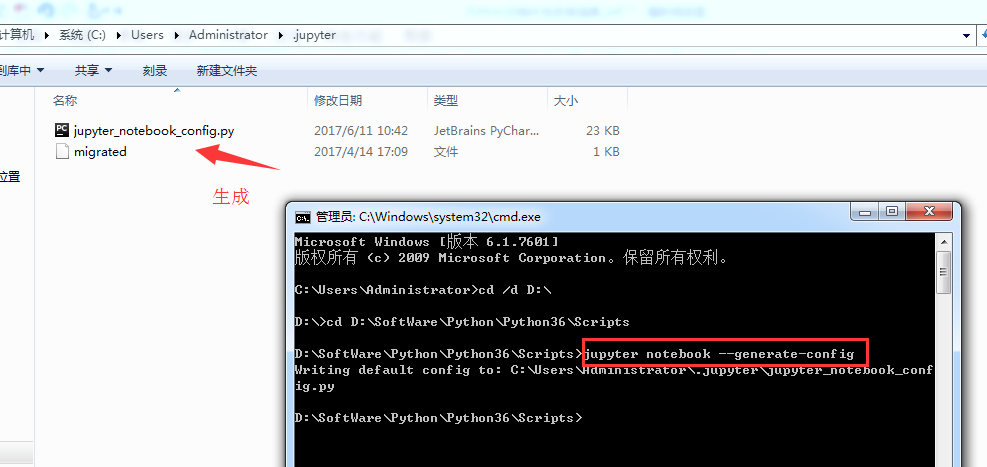
jupyter notebook –generate-config
运行之前
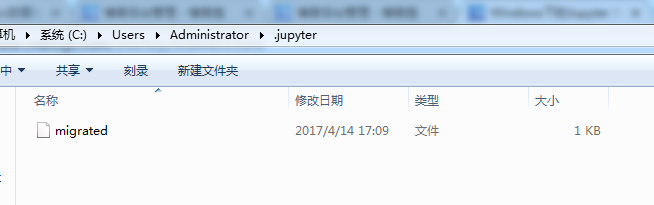
打开“.jupyter”文件夹,可以看到里面有个配置文件。
修改jupyter_notebook_config.py配置文件
打开这个配置文件,找到“c.NotebookApp.notebook_dir=……”,把路径改成自己的工作目录。

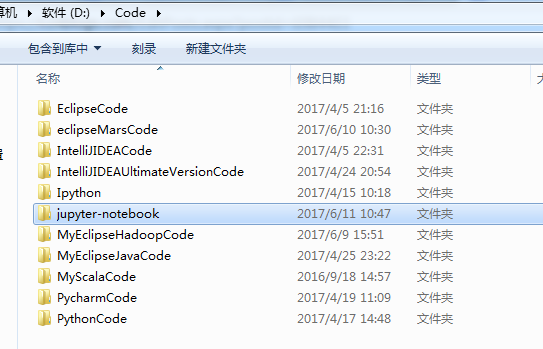
比如,这里要变更为
The directory to use for notebooks and kernels.c.NotebookApp.notebook_dir = ‘D:\Code\jupyter-notebook’
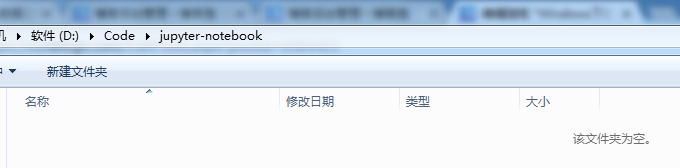
,当然,文件夹 jupyter-notebook** **需要自己创建好。

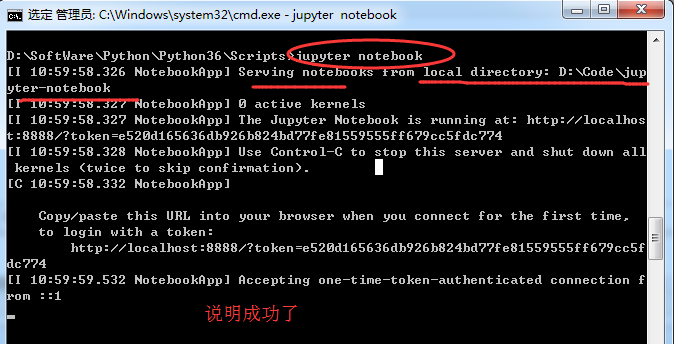
配置文件修改完成后, 以后在 jupyter notebook 中写的代码等都会保存在自己创建的目录中。
jupyter notebook的自定义启动(变了) 配置文件修改成后,就可以启动 jupyter notebook 了,命令行窗口中输入 jupyter notebook, 默认浏览器就会打开一个页面
jupyter notebook的启动 命令行窗口输入: jupyter notebook
以前是
现在是

转自: